Commercial Indoor Playground Design: Key Planning Steps
2026年10月30日 / By safekidsplay_admin
Quick Answer
To design a commercial indoor playground, confirm the building dimensions, clear height, target age groups, budget, business model, and local project constraints before selecting equipment. The layout should give each zone a clear role, separate activities where age or intensity differs, protect circulation and exits, and allow parents and staff to see important play areas. A strong design connects the 2D plan, 3D theme, equipment schedule, specifications, and installation scope so the approved visual concept matches the final project.
What Should Buyers Confirm Before Designing a Commercial Indoor Playground?
Start with a dimensioned plan that shows usable floor area, clear height, columns, doors, emergency exits, fixed building services, and access routes. Total area alone is not enough: beams, ducts, sprinklers, lighting, and structural elements can limit equipment height or change where attractions can be placed.
Define the venue’s business model and target users at the same time. A toddler-focused play space, a mall family venue, a party center, and a mixed-age FEC need different zone priorities. Budget and opening date should also be realistic enough to guide the level of customization.
How Should an Indoor Playground Be Zoned?
Divide the layout into zones with clear purposes. A main play structure can act as the anchor; a toddler zone can support younger visitors; active or interactive areas can add variety; and parent seating, reception, storage, party functions, and staff routes support daily operations.
Age separation should be practical rather than decorative. Younger children may need lower-intensity equipment and clearer boundaries, while older children may use more complex climbing or challenge features. The design should avoid placing high-speed circulation through areas intended for toddlers or quiet family use.
What Indoor Playground Equipment Should Be Included?
Equipment should be selected according to user age, space, clear height, supervision needs, maintenance, and the experience the venue wants to offer. Common options include multi-level structures, slides, tunnels, climbing, soft play, ball play, toddler modules, sensory panels, and selected interactive or challenge attractions.
Choose each component for a reason. Consider whether it attracts the target audience, creates repeat play, supports parties or groups, or strengthens the theme. Avoid adding attractions simply because they appear impressive in a rendering; the final mix must remain manageable for staff and maintenance.
How Should Commercial Playground Equipment Fit the Layout?
Review the footprint and access requirements of every attraction on the 2D plan. Include entry and exit points, approach space, queues, landing or transition areas, service access, and any clearance requirements applicable to the equipment and destination market. Do not rely on a 3D perspective alone to judge whether the plan works.
Keep the equipment schedule connected to the drawing. Each major component should have a defined location, size, and specification. If the buyer approves a visual concept but the quotation lists different components, the project team should resolve the mismatch before production.
How Should Visitor Flow Be Designed?
Map the customer journey from reception to the main activity areas, parent seating, party rooms, toilets or support areas, and exit. Identify where families remove shoes, wait, check in, store belongings, or gather before a party. These functions need space even though they are not play equipment.
Staff sightlines should be tested from realistic operating positions. A layout can look open in a rendering while hiding a toddler corner or a key entry point behind a structure. Circulation routes should not force staff to cross busy activity zones repeatedly to reach service or storage areas.
How Do Columns and Building Constraints Affect Design?
Columns, beams, low ceilings, mechanical systems, and irregular boundaries should be included in the first layout, not treated as details to fix after the concept is approved. Equipment may need to be split into modules, shifted to preserve circulation, or redesigned around building conditions.
Check how large components can enter the building and reach their final positions. Loading docks, service lifts, doors, corridors, and floor protection can affect packaging and installation sequence. The buyer’s local team should separately confirm building, fire, accessibility, and landlord requirements.
What Safety and Operational Factors Should Be Considered?
Safety planning is equipment- and market-specific. Buyers should confirm the applicable requirements for the actual product categories, obtain relevant documentation, and coordinate local building, fire, accessibility, insurance, and operating requirements with qualified local professionals where needed. One certificate should not be treated as proof that every component and building requirement is covered.
Operations also shape design quality. Cleaning access, inspection points, replaceable wear parts, staff observation, storage, and emergency access should be considered before production. A maintainable design is easier to operate than one where important connections or high-use components are difficult to inspect.
How Does an Indoor Playground Manufacturer Develop 2D and 3D Designs?
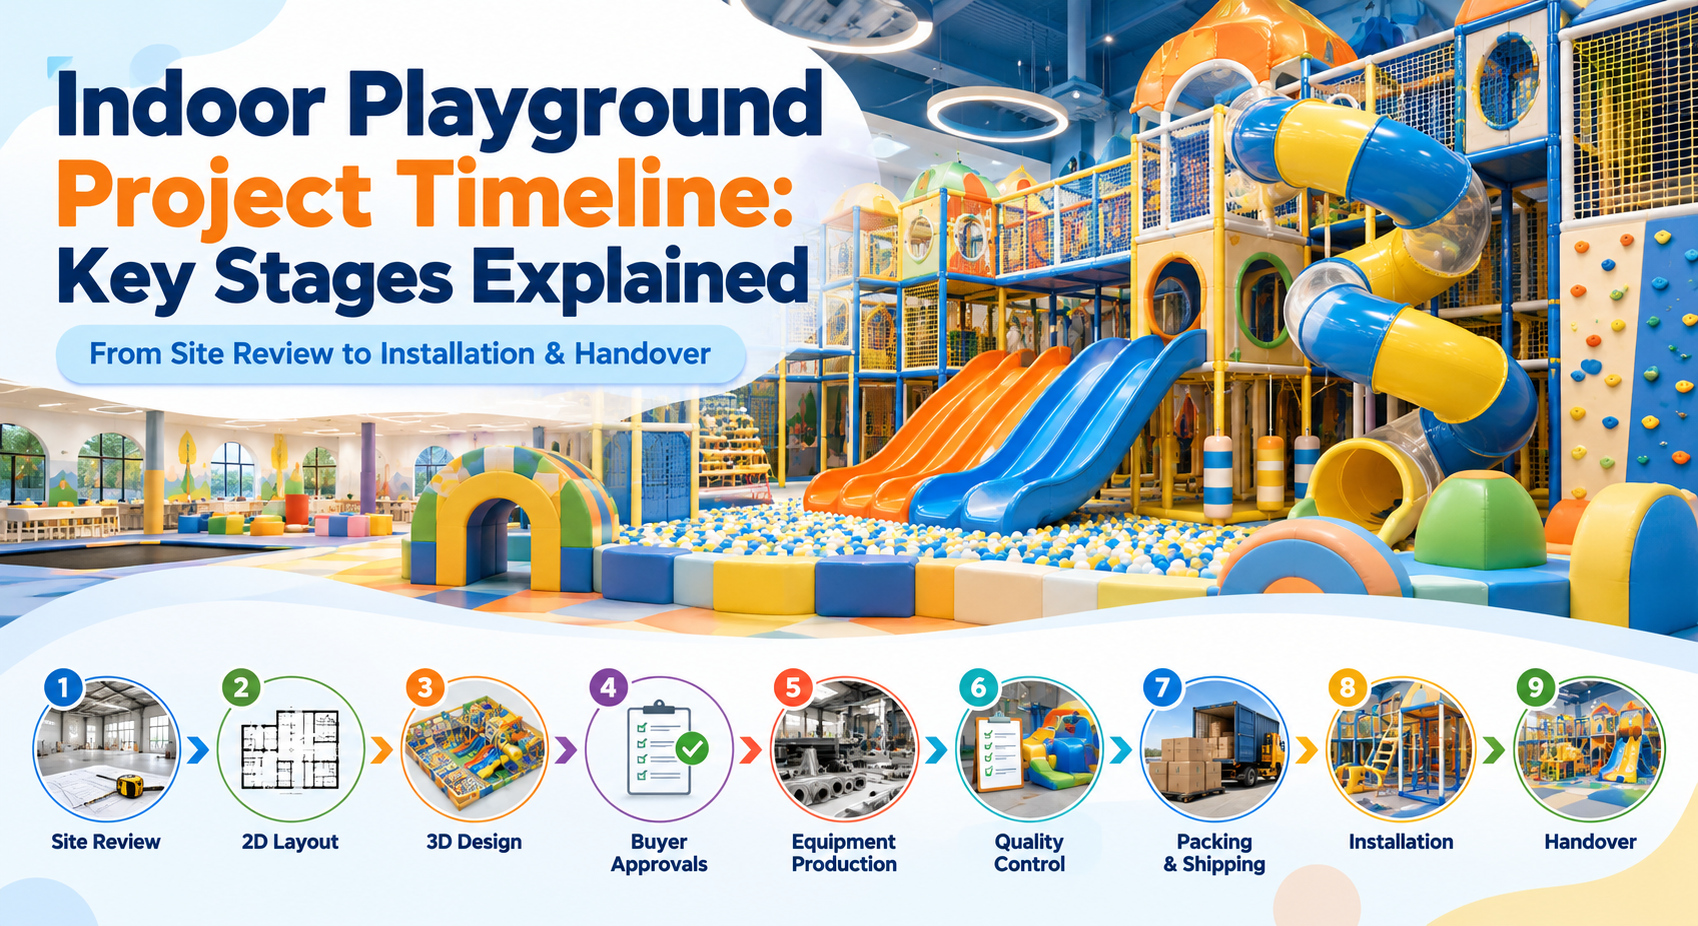
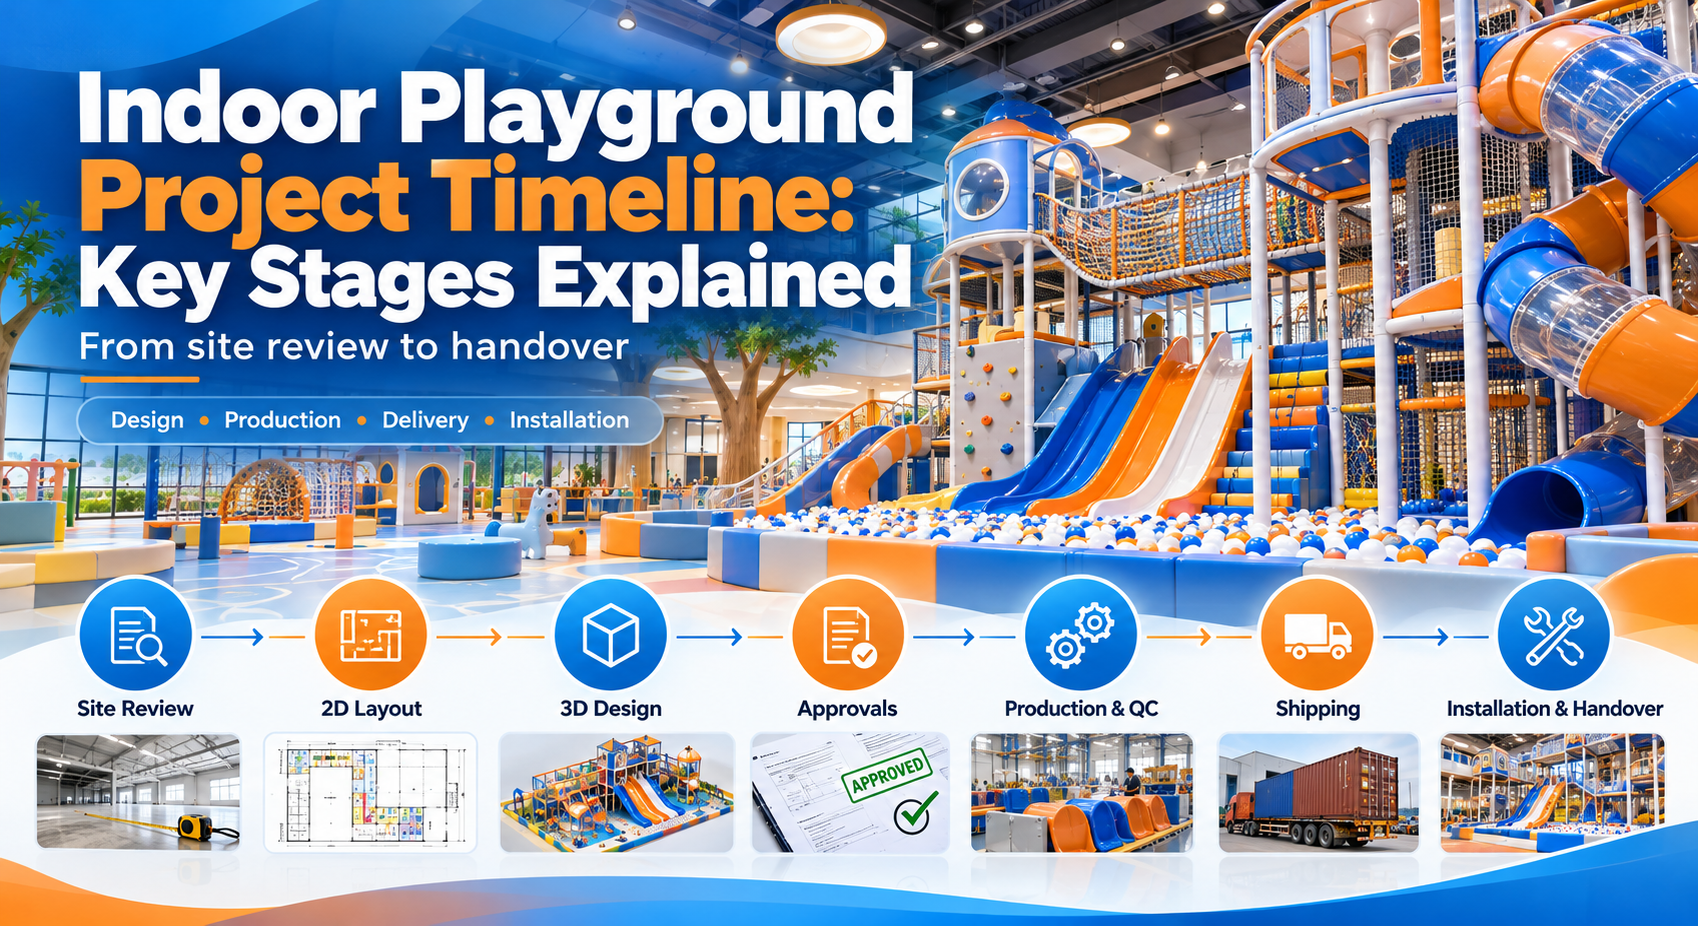
The 2D stage establishes function: dimensions, zones, circulation, equipment footprints, sightlines, exits, and service routes. The 3D stage communicates the theme, colors, decorative elements, height relationships, and overall customer experience. Both views should describe the same project.
Before production release, approve the final layout, equipment list, major specifications, theme and colors, responsibility boundaries, and change process. NanPlay can support project planning and custom design; the exact scope and deliverables should be confirmed in the project quotation.
Decision Table: What Buyers Should Compare
| Design Input | What to Confirm | Why It Matters |
| Floor plan and usable area | Actual dimensions and tenant boundary | Controls footprints and circulation |
| Clear height and services | Beams, ducts, lights and fixed systems | Limits vertical attractions and installation |
| Target users | Age groups and expected visit types | Guides activity intensity and separation |
| Operations | Staffing, parent areas, parties and storage | Makes the layout workable after opening |
| Project scope | Equipment list, materials and installation model | Keeps drawings and quotation aligned |
What Information Should Buyers Prepare?
Prepare the destination country and city, venue type, dimensioned floor plan, usable area, clear height, columns, entrances and emergency exits, target age groups, preferred attractions, theme direction, budget range, installation preference, and planned opening date. For a more accurate review, also provide any landlord restrictions, site photos, and the current building or CAD drawings available.
Common Mistakes to Avoid
- Designing from a rough brochure plan instead of verified dimensions.
- Filling the entire floor with equipment and leaving too little circulation.
- Mixing toddler and high-intensity activity without clear zoning.
- Approving 3D visuals without a matching equipment schedule.
- Leaving maintenance access and local approvals until late in the process.
Frequently Asked Questions
How do you design a commercial indoor playground?
Start with site dimensions, clear height, target ages, business model, budget, and local constraints; then plan zones, circulation, equipment, and 2D/3D approvals.
How much space is required?
There is no single minimum for every concept. The usable area must support the chosen attractions plus circulation, reception, supervision, support functions, and exits.
What equipment should be included?
The mix depends on target ages and venue goals. Options include multi-level play, slides, climbing, soft play, toddler activities, ball play, and selected interactive attractions.
Can the design be customized?
Yes, where the building, budget, production scope, and installation conditions support the requested changes.
What should be sent to an indoor playground manufacturer?
Send the dimensioned floor plan, clear height, columns, exits, target ages, preferred attractions, theme, budget, and planned opening date.
Commercial Buyer Checklist
- Verified floor plan received
- Clear height and building services mapped
- Target age groups defined
- Zones and attraction roles agreed
- Circulation and exit routes reviewed
- Parent and staff sightlines checked
- Equipment list matches 2D/3D design
- Cleaning and maintenance access considered
- Applicable local requirements assigned for review
- Final approval and change process documented
Final Thoughts
How to Design a Commercial Indoor Playground should be treated as a project decision supported by site data, written scope, and realistic operating assumptions. NanPlay recommends connecting design, equipment specifications, delivery responsibilities, and maintenance planning before the project is released for production.
Project CTA
Share your country and city, venue type, floor plan, usable area, clear height, columns and exits, target age range, preferred attractions, theme, budget, and planned opening date to discuss a project-specific layout.
Reference: https://www.nanplay.com/indoor-playground/